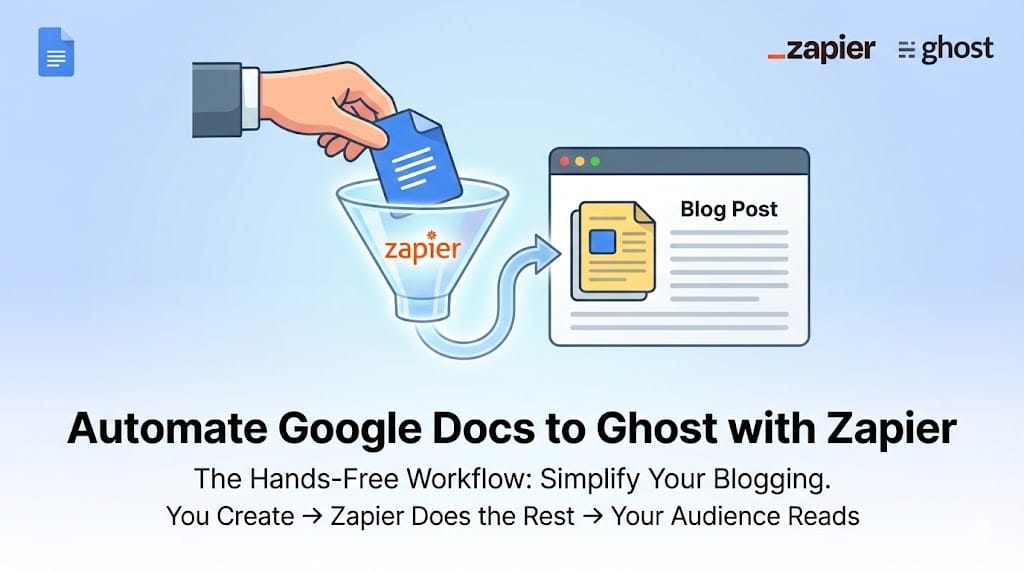
Streamline Your Publishing: How to Automate New Google Docs to Ghost with Zapier
This is a feature posting designed for the Ghost blog or help center. It adopts a helpful, encouraging tone aimed at creators and teams who want to streamline their publishing workflow.

We know the drill. You love drafting in Google Docs. The collaboration features are unbeatable, and it’s where your best ideas flow.
But then comes the "publishing shuffle." You finish drafting, and then you have to copy everything, open Ghost, create a new post, paste it in, re-do the formatting that broke in transit, and re-upload your images. It’s tedious, and it pulls you away from what you actually want to do: create content.
What if you could hit "finish" on a Google Doc and have it magically appear as a formatted draft in your Ghost admin area, ready for final review?
Thanks to our integration with Zapier, you can.
Today, we’re walking through how to set up a simple, powerful automation that turns new Google Docs into Ghost posts automatically.
Why Automate This?
Before we dive into the "how," here is the "why." Setting up this 5-minute automation gives you:
- A Cleaner Workflow: Keep your drafting phase completely separate from your publishing phase.
- Zero Formatting Headaches: Zapier handles the conversion from Google Doc to Ghost's editor beautifully, preserving bolding, links, and headers.
- Team Scalability: If you manage guest writers or a content team, they can submit work simply by dropping a Google Doc into a shared folder, and it appears in your Ghost queue.
What You’ll Need
To get this setup, ensure you have the following ready:
- An active Ghost account (Pro or self-hosted).
- A Zapier account.
- A Google account (Docs and Drive).
Step-by-Step Guide: The "Doc to Draft" Zap
We are going to create a Zap that watches a specific Google Drive folder. Whenever a new document lands in that folder, Zapier will grab it and turn it into a draft post in Ghost.
Phase 1: Setting up Google Drive (The Trigger)
We recommend using a specific folder for this automation so that every random doc you create doesn’t end up on your blog.
- Create a Folder: Go to Google Drive and create a new folder. Let's call it "Ready for Ghost Blog."
- Create a Test Doc: Inside that folder, create a simple Google Doc with a title and some dummy text (maybe a bold header and a paragraph). You'll need this to test the Zap.
- Start Zapier: Log into Zapier and click "Create Zap."
- Choose App & Event:
- Search for Google Docs.
- For the Trigger Event, select "New Document in Folder." (This is key!)
- Connect Account & Folder:
- Connect your Google account.
- In the "Set up trigger" section, choose the Drive and select the specific folder you just created ("Ready for Ghost Blog").
- Test Trigger: Click test. Zapier should find the test document you created in Step 2.
Phase 2: Setting up Ghost (The Action)
Now we tell Zapier what to do with that document.
- Choose App & Event:
- Click the "+" button to add an action step.
- Search for Ghost.
- Select the Action Event: "Create Post."
- Connect Ghost:
- If you haven't connected Ghost to Zapier before, you’ll need your Admin API Key and API URL. You can find these in your Ghost Admin dashboard under Settings -> Integrations -> Zapier.
- Map the Fields (The Magic Step):
- This is where you tell Zapier which parts of the Google Doc go where in Ghost.
- Title: Click the field and select the Google Doc's "Title" from step 1.
- Content Format: Select HTML.
- Content: Click the field and search for "File Content as HTML" from the Google Doc options. Crucial: Do not select plain text, or you will lose your formatting.
- Status: We highly recommend setting this to Draft. This allows you to log into Ghost, add a feature image, check the SEO settings, and give it a final polish before hitting publish.
- (Optional) Authors/Tags: You can pre-select a specific author or assign a default tag (like "From Google Docs") here if you wish.
Phase 3: Test and Launch
- Test Action: Click the test button. Zapier will send the data to Ghost.
- Verify: Open your Ghost Admin dashboard and look at your "Drafts." You should see your test document there, perfectly formatted.
- Turn on Zap: If it looks good, give your Zap a name and turn it on!
The New Workflow
Now, your publishing process looks like this:
- Write your masterpiece in Google Docs.
- When it's finished, move that Google Doc into your "Ready for Ghost Blog" folder.
- Grab a coffee.
- Log into Ghost; your formatted draft is waiting for you.
Spend less time copy-pasting and more time creating.